Guest Post: Fashion Polish with piCture pOlish Nail Art!!
Posted on March 28 2014
Hi everyone!
I'm super excited to be on the Harlow & Co. blog today!
For those of you who don't know me, I'm Sam, the blogger behind FashionPolish.com.
I've been blogging for about 3 years and a half now and although I mostly run a swatch/review blog, I also try and post nail arts as soon as I get the chance... A bit like today actually ^_^
I don't think I could say when I first heard about Harlow and Co, it just feels like the store has always been around. But but one thing I know for sure is their excellent customer service and how passionate Katie is about nail polish, always interacting with everyone spreading nothing but color and a positive attitude all around the globe (ok that might be a few things lol).
So of course when Katie posted on Facebook that she was looking for guest posters, I instantly knew I had to participate!
Ok so here we go :
The nail art I created today is a mix of triangles and circles, stamping and dotting, all in a soft and yet fresh Spring themed color range.
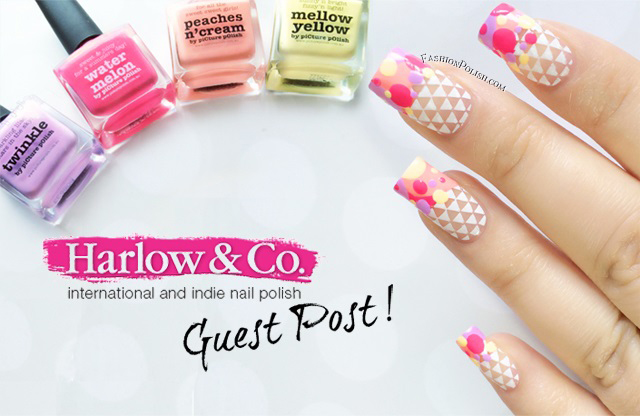
To achieve this look, I used white stamping nail polish, the Moyou XL 02 plate from the Pro Collection, as well as 4 piCture pOlish colors : Twinkle, Watermelon, Peaches n'Cream and Mellow Yellow.
Here's a quick step by step :


Well, that's it for today, I hope you've all enjoyed this guest post.
Thank you so much for reading it and many thanks to Katie for having me on her blog! ♥♥♥
For more nail arts and the latest indies/mainstream collections reviews, you can find me on my blog FashionPolish.com or on social media : Facebook Twitter Instagram and Pinterest ^_^
I wish you all a beautiful and colorful day!
So of course when Katie posted on Facebook that she was looking for guest posters, I instantly knew I had to participate!
Ok so here we go :
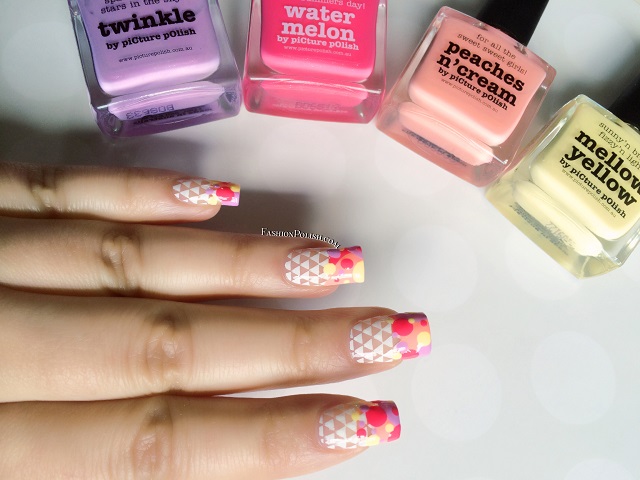
The nail art I created today is a mix of triangles and circles, stamping and dotting, all in a soft and yet fresh Spring themed color range.
To achieve this look, I used white stamping nail polish, the Moyou XL 02 plate from the Pro Collection, as well as 4 piCture pOlish colors : Twinkle, Watermelon, Peaches n'Cream and Mellow Yellow.
Here's a quick step by step :
- Apply base coat over freshly hydrated and manicured nails
- Stamp directly over the base coat. Pay extra attention to the cuticle area, the tips will be covered and don't need to be perfect ;-)
- Start drawing large circles on your tips with the nail polish brush, using your first 2 colors. Make sure not to overlap polishes at this point.
- Once this first coat of color is dry to the touch, add a few more large circles with your third and even fourth color, slightly overlapping the previous ones this time. Again, give it a couple of minutes to dry.
- Continue with medium and small dots of all 4 colors, using a dotting tool or whatever is handy, no need to wait in between.
- Finish with topcoat and voila!
Well, that's it for today, I hope you've all enjoyed this guest post.
Thank you so much for reading it and many thanks to Katie for having me on her blog! ♥♥♥
For more nail arts and the latest indies/mainstream collections reviews, you can find me on my blog FashionPolish.com or on social media : Facebook Twitter Instagram and Pinterest ^_^
I wish you all a beautiful and colorful day!
Comments
3 Comments
-

Posted by Manisha | April 29, 2014
-

Posted by Alison UKNailRunner | March 29, 2014
-

Posted by Georgiana | March 28, 2014
Leave a CommentBeautiful mani. Love the creativity
What a brilliant idea, Sam. It looks great of course, but what a super way to use stamping designs that aren’t quite big enough to cover my nails. Thank you!
These are so beautiful! I love the mix of patterns – I would have thought it wouldn’t work, but you have such a great eye, Sam, because they look great together!